...
- Open Studio and expand the My House Map Source and the Layers node underneath.
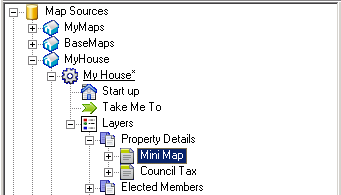
- Either expand the existing Virtual Layer Group for your Mini Map or, to create a new one, right click on the Layers node and select Add Virtual Layer Group and give it a Name e.g. Property Details
- Either select the existing Virtual Layer for your Mini Map or, to create a new one, right click on the Virtual Layer Group and select Add Virtual Layer.
Enter a Layer Name e.g. mini-map.
Alter the Display Name as you wish e.g. Mini Map. If you don't want a name displayed for this virtual layer then enter an underscore here.
Tip You may need to enter more than one underscore if you already have a virtual layer with one underscore.
- The control of the mini-map is handled by the Row Settings, either double click on the existing entry to edit it e.g.

Or click on the green plus to add a new row.
 - Select the Example code from one of the following examples and edit it to suit your requirements.
- Save you changes.
...