| Table of Contents | ||
|---|---|---|
|
Getting Started
Reference
- The UK Location Programme (UKLP) Guidance and Tools.
- The main document for filling in the metadata is the UKLP Metadata Editor User Guide.Getting Started with Metadata with Astun Technology
- The official Gemini 2.3 guidance
- GeoNetwork itself comes with comprehensive help documentation, which can be reached from the "help" link in the menu on the home page.
First Login
Login to geonetwork.astuntechnology.com using the Username and temporary Password supplied.
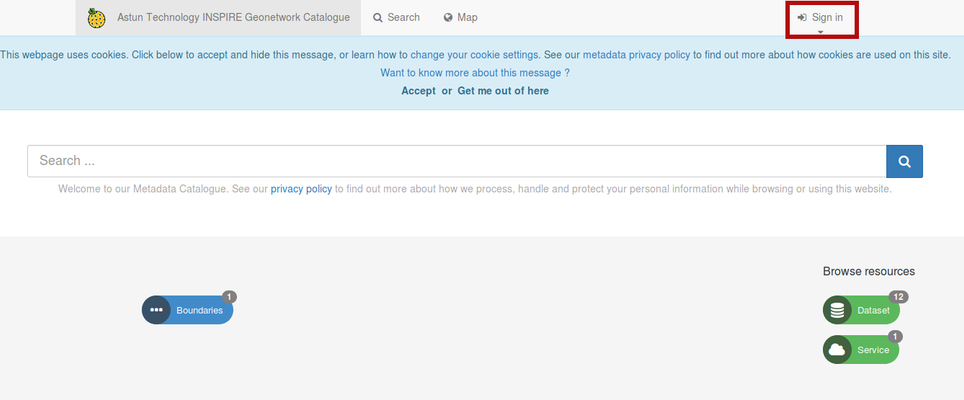
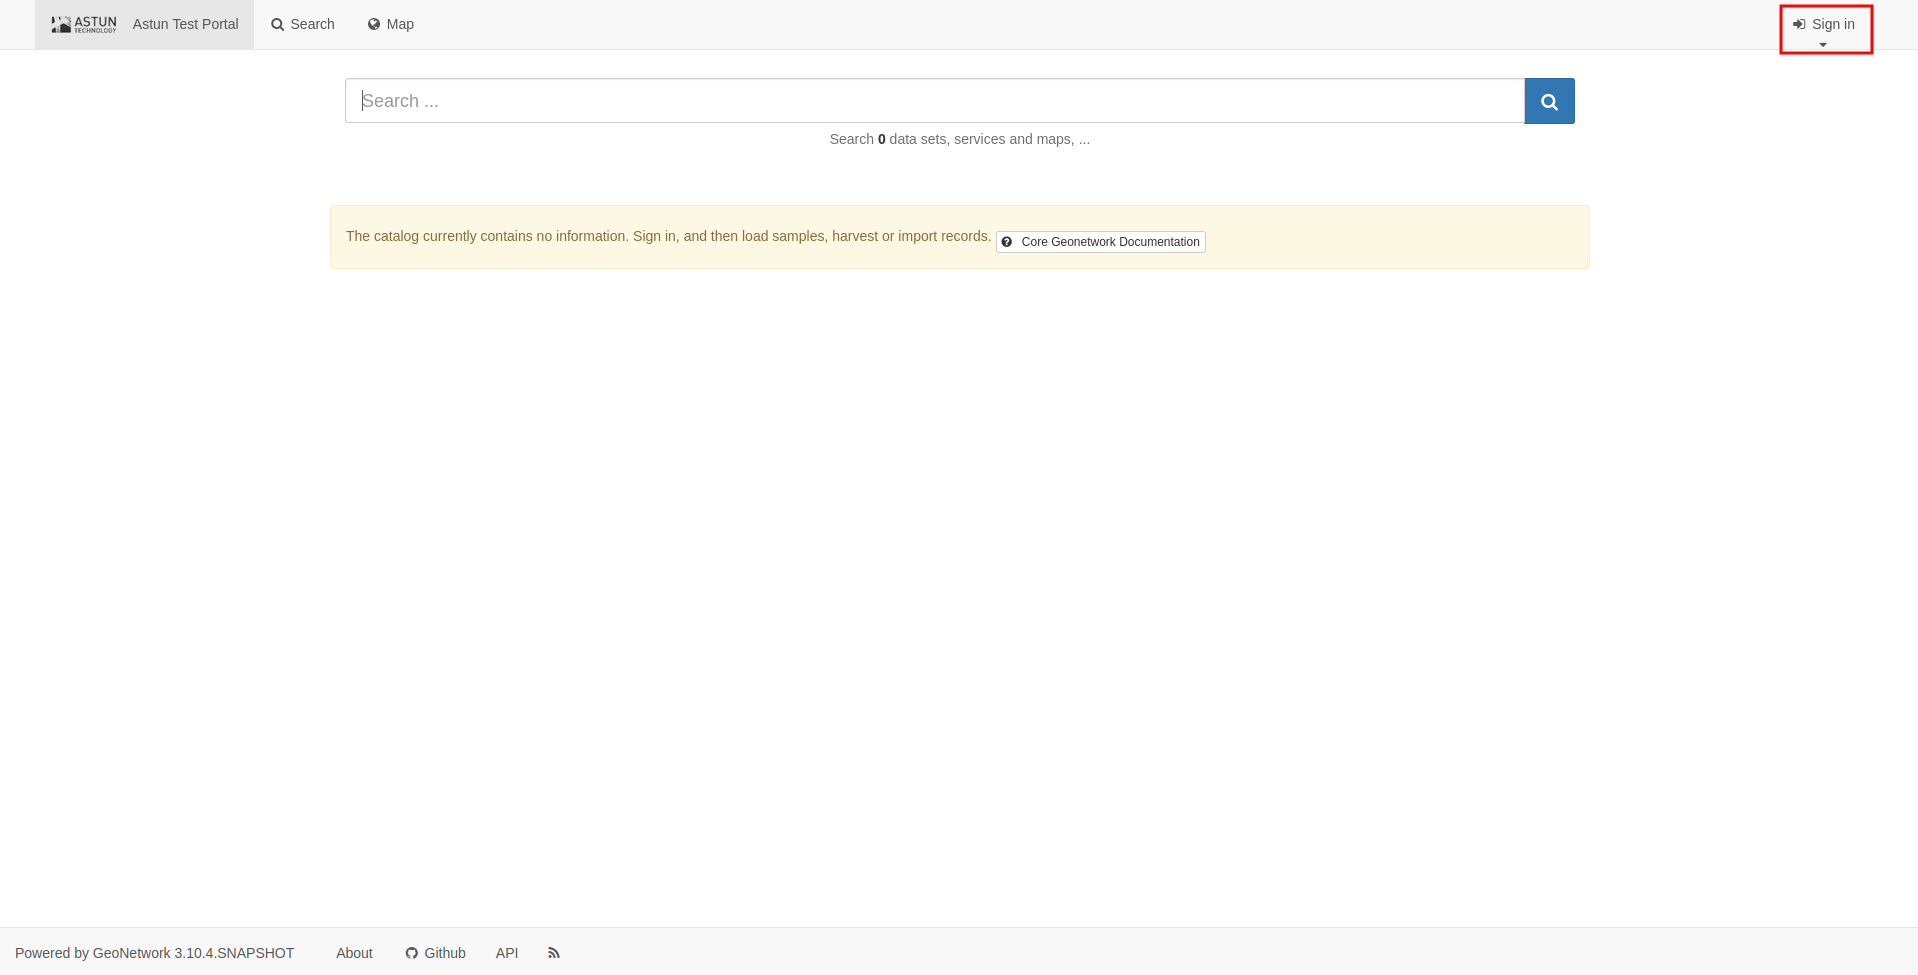
The first time you access the site, please change the password. Click on your username Your Astun consultant will provide you with the URL to your metadata portal. Click on the Sign in button in the top right corner and in the user details page click the Reset password button. .
.
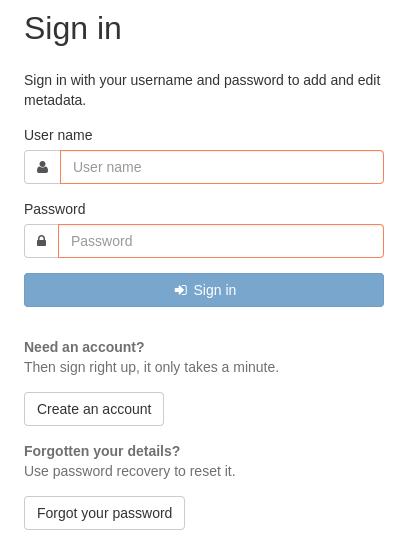
On the Sign in page, click the Create an account button
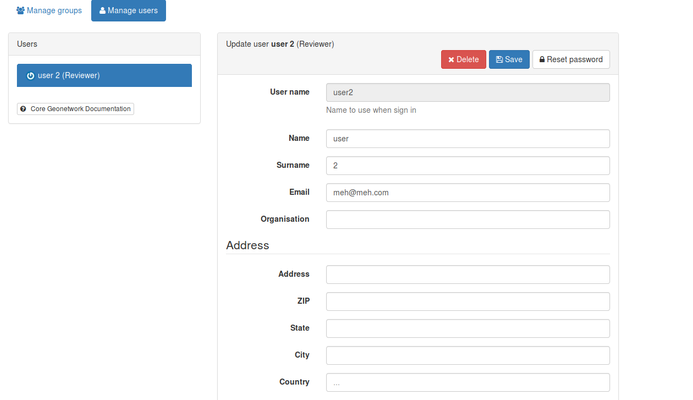
Fill in your contact details and then click Save to save your changes.
Finding Metadata
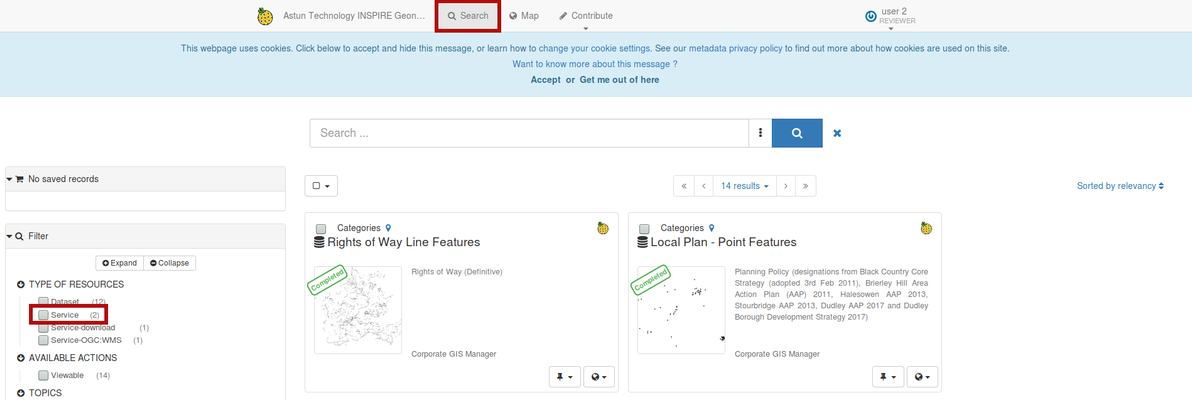
You will have a single service metadata record and multiple coupled dataset metadata records generated by Astun's harvesting process. You will have to complete and validate all of these records before submitting the metadata to data.gov.uk.
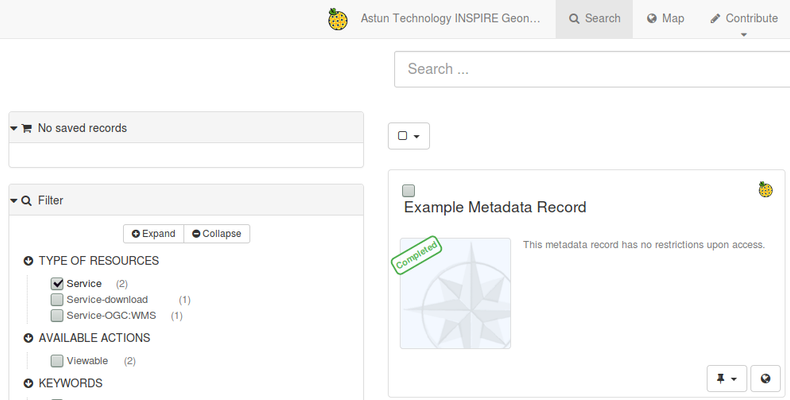
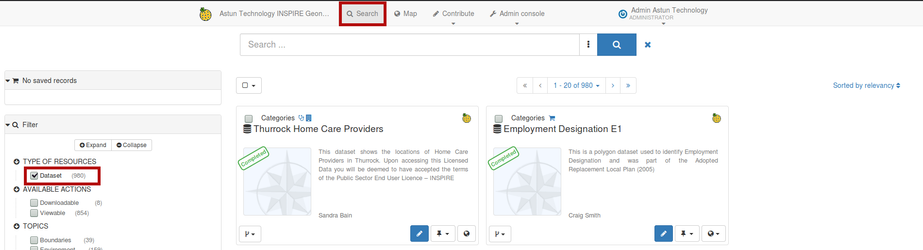
- To find the service record select Search from the top menu. From the Type of Resources list on the left, tick Service. The service record for your authority will be listed in the results pane. From there you can select the blue edit button to edit the record.
 details on the following page, choosing the account type that you require. This will generally be an Editor, Reviewer, or User Administrator. Then click Register.
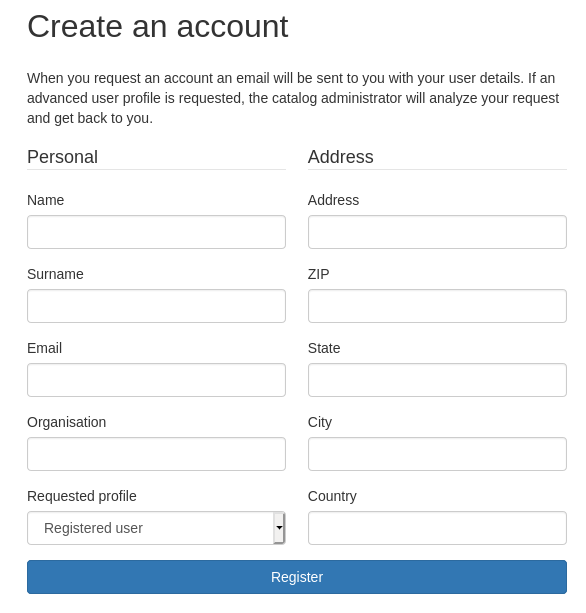
An email will be sent to the portal administrator at Astun, who will enable the account.
| Info |
|---|
| Note that full Administrative access is not allowed for customer portals so requests for this type of account will be converted to User Administrator. |
Finding Metadata
GeoNetwork provides a number of search options. Once logged in, you will have buttons for Search and Contribute on the top menu. Using the Search tab, you can search by record title, or use the filters in the column on the left to narrow down your results. Similar options are available from the Contribute tab, with different filter options.
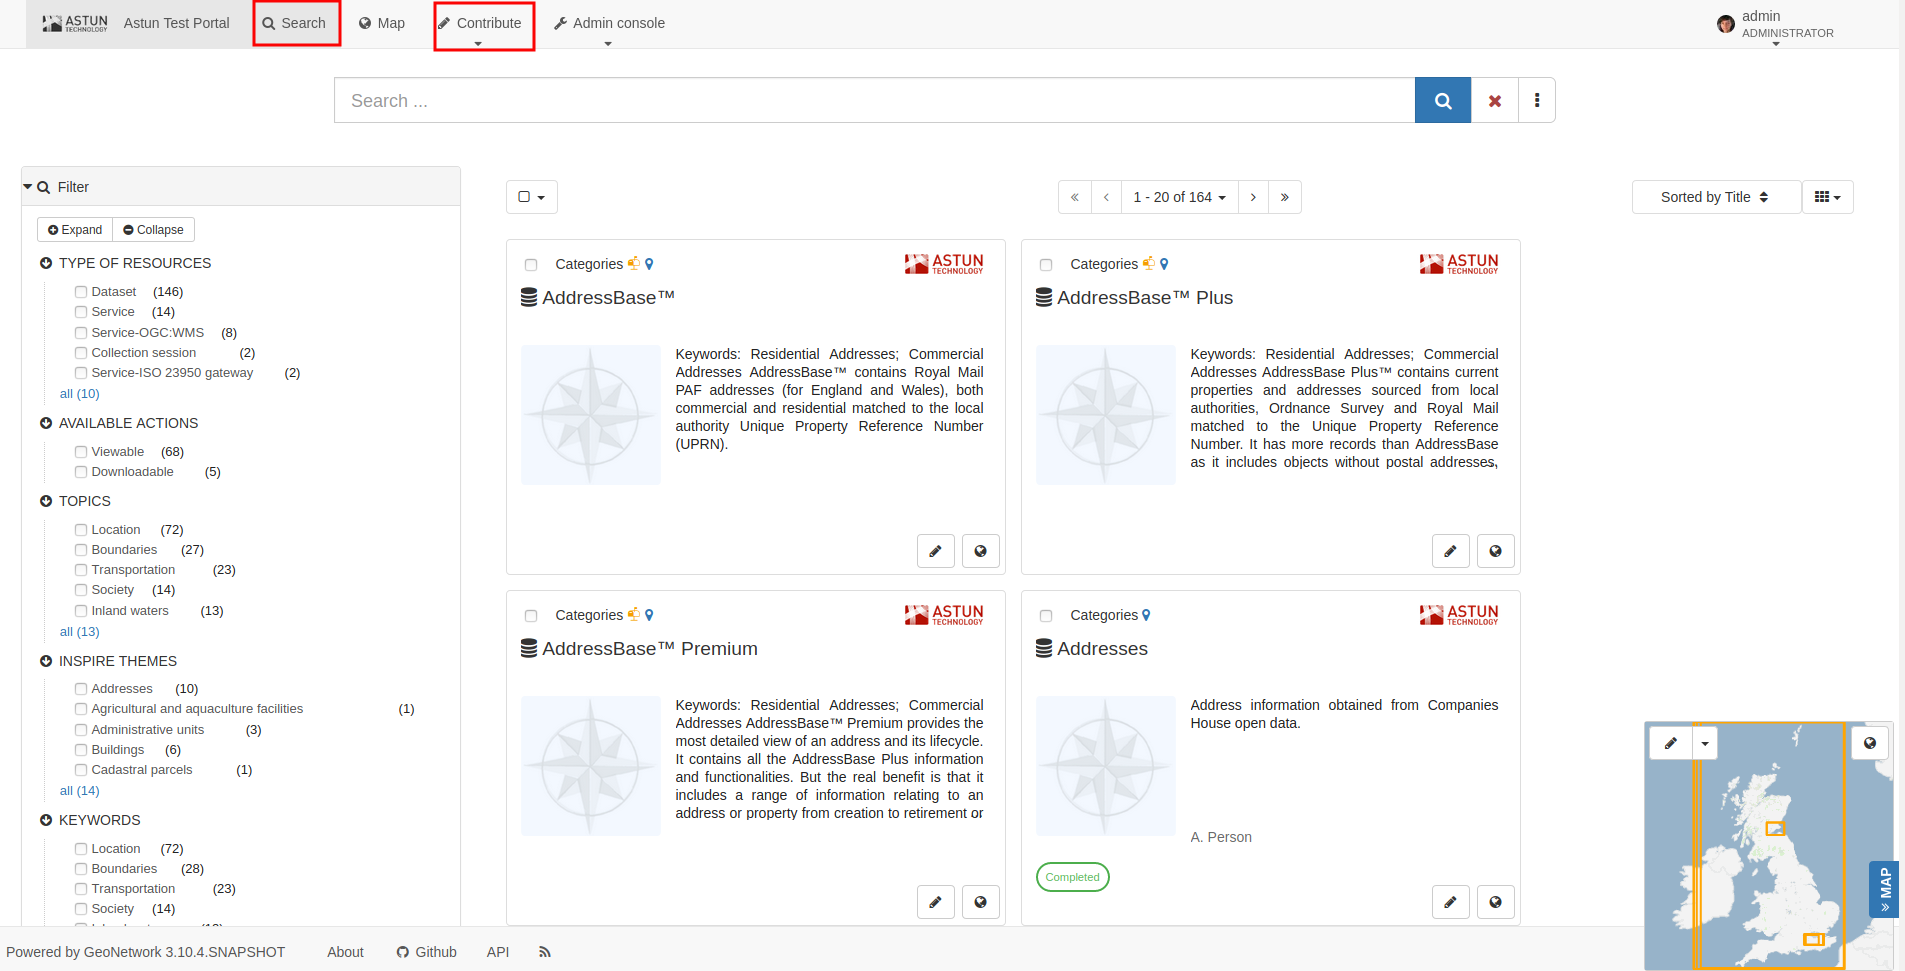
To find dataset records select Dataset from the
...
Filter menu. All the datasets records for your authority will be listed in the results pane. From there you can select the
...
edit button for each record.
...
The 'Advanced Search', accessed from the vertical ellipsis in the Search bar, allows you to specify additional criteria such as temporal extent, categories, and keywords.
 Navigating to records is explained in both the Service Record Validation and Data Record
Completion and Validation
...
of Metadata
Each record will need completion and validation before submission to data.gov.uk. First you must check that each metadata record has the required Online Resource Indicators described by the section below. Following that you must then ask GeoNetwork to validate each record. This is achieved by entering Edit mode for a record and select 'Check'. GeoNetwork will then provide validation results in a popup window. Compare any validation failures to the INSPIRE - Validation document. This document will assist you in fixing the majority of your validation failures.
| Info | ||
|---|---|---|
| ||
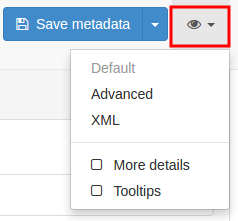
GeoNetwork uses a variety of views on metadata records. The eye icon shows the list of available views in Edit mode. The majority of your time will be spent in the Default view but for some validation failures you will have to enter the XML view.
|
Online Resource Indicator Formats
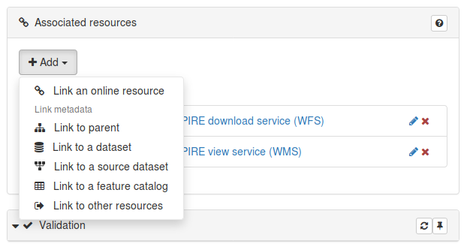
Online resource indicators are created in the Associated Resources wizard in Edit mode. Existing resources are listed, along with an option to add new.
...
- Choose the appropriate function and protocol, according to the table below.
- Add the URL for the base service, of the form shown in the table below. You will need to get the Core URL from your client configuration document or an Astun consultant.
GeoNetwork will attempt to parse the provided URL and will flag if there is an error. If the URL is correct:
- for datasets View Service select the appropriate layer from the list. This will populate the Resource Name and Description boxes for you.
- for datasets Download Service enter the full GetFeature URL as shown below.
- for services, do not select a layer from the list for either View or Download Service, leaving the Resource Name blank. You may fill in the description yourself.
Repeat the process for your service, and each dataset record.
...
Online Resource Type
...
URL
...
View Service
...
service=WMS&
...
Download Service
...
service=WFS&
...
View Data
...
service=WMS&
...
Download Data * different for each layer
...
service=WFS&version=1.1.0&Request=GetFeature&TypeName=NameOfLayer
An example of the online resource wizard for a service record is shown below.
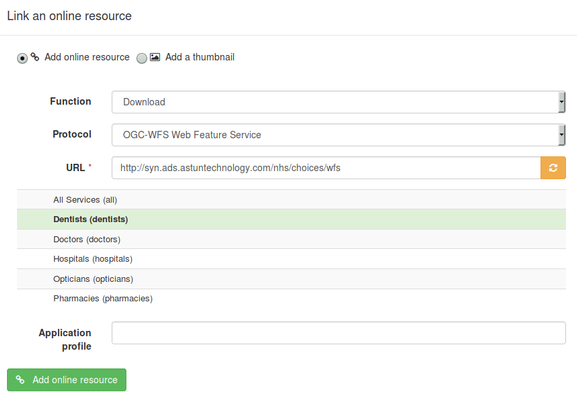
...
The service record is an overarching descriptor about your INSPIRE data and your authority, rather than a specific dataset.
The "Services" link in the left-hand pane will show the service metadata available to the user logged in.
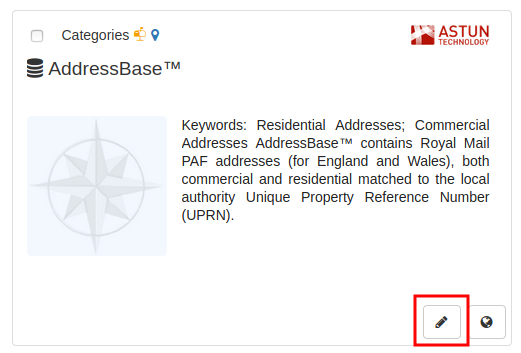
Clicking the record title shows the full metadata record.
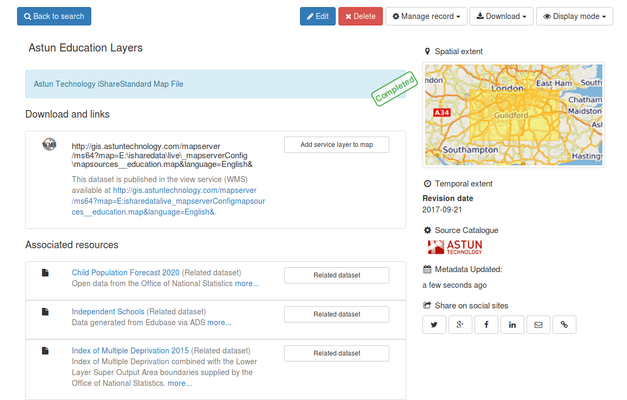
Scrolling down the page shows that some metadata has already been completed as part of the automatic harvesting process, such as the bounding box given in both latitude / longitude and British National coordinates (EPSG:27700).
Click the blue edit button to edit this record.
A list of shortcut links are available in the bottom right, to let you jump quickly to a specific area. The eye button can be used to switch between simple view (recommended), full view (useful for some validation errors) and xml view (recommended only for expert use).
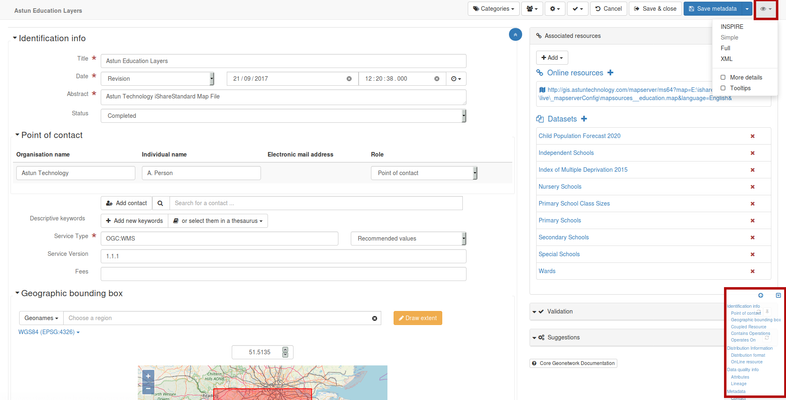
The GeoNetwork editing interface can appear complex, but the basic elements of the interface are as follows:
- Elements with a red asterisk are mandatory to all xml schemas. Note that elements mandatory only to Gemini or INSPIRE may NOT be marked with red asterisks
- Elements where it is possible to add multiple entries are indicated by a '+' button. Note that in the default view, to simplify the display, not all elements have a '+' sign. To add additional elements in this case, switch to advanced view.
- Elements where it is possible to search for an entry in a thesaurus, such as keywords, are indicated by a button marked Select them in a thesaurus.
- Other controlled elements may be selectable from dropdown lists or by using search boxes.
- Elements that can be deleted are indicated by a red 'x' sign. Note, do not delete elements unless you are certain they are not required.
- Data relating to bounding boxes, and coupled records should not be edited unless by a trained administrator.
To validate your record, click "Validate". Validation results will be visible in the Validation Wizard to the right of the record. Validation errors are shown relative to the schema that they relate to - so an error may appear multiple times in the results.
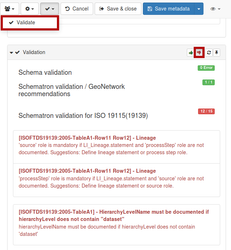
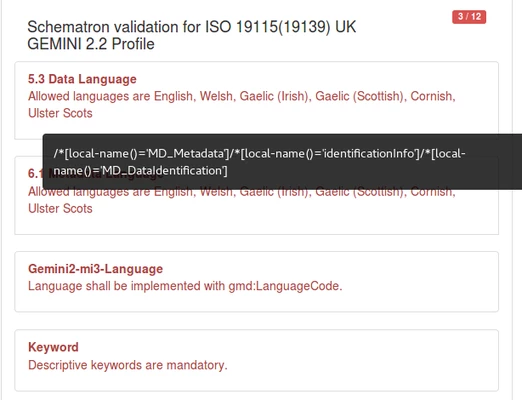
To show errors, click the red "thumbs down" button. The validation results will expand to show the errors. Note that the location of these errors may not always be visible in the display. If possible, the editor will place a red outline around the offending element, but for missing elements this will not be possible. However, mousing over the error message in the validation wizard will show the xpath location of the error in the document. This location can be mapped to the tabs in advanced editing mode, therefore the invalid element shown below will be found in Advanced Mode, Identification Tab, Identification Info, Data identification.
Continue to fill in records until the validation window lists no further errors. This can be a time-consuming process for the first record you validate but the UKLP Metadata Editor User Guide provides detailed information on what is required in all cases. Be sure to click "Save and close" when done to ensure your changes are saved!
For an example of a completed service record that has been accepted by data.gov.uk, see http://data.gov.uk/dataset/wycombe-inspire-data. To compare this to your service record, view your service record in XML view and choose the "source gemini2 record (xml)" from the link above.
...
Each of your datasets will have a corresponding data record, reachable from the "Datasets" link in the left-hand side of the GeoNetwork search page.
Click the title of the record to see the metadata as it currently stands, or the blue edit button to go into Edit mode.
The principles for editing the dataset records are the same as for the service record. Enter Edit mode, select Validate and then fix any validation issues that GeoNetwork detects. Save any changes as you progress.
Invalid XML
If your edits produce invalid xml then a message will be shown on the screen similar to the one below and you will not be able to save your metadata.

In this case, the best course of action is to cancel your edits and retry them. If you are unable to do this, or your record no longer displays in either read-only or edit mode, please contact your Astun Consultant and let them know the Unique Identifier and/or title of the record.
Use of external metadata
If an authority has metadata information for a dataset that has been generated externally to this workflow they have two approaches;
- they can either de-couple an existing dataset, create a new dataset and couple this to the service record
- or edit the existing dataset in XML mode and copy/paste elements from the external metadata and then save the changes.
Creating a new dataset and coupling to the service
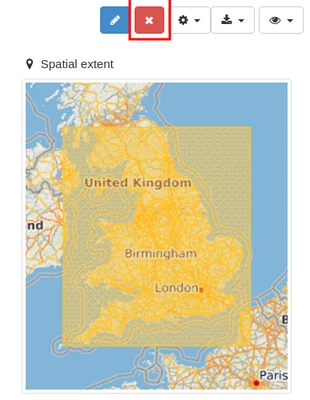
If it is the intention to replace an existing dataset with a new dataset, it is necessary to decouple the old dataset from the service before replacing it. Locate the service record and edit it, and then identify the dataset you wish to decouple from the Associated Resources Wizard. Click the red cross button to remove the coupling.

Save and close the service record. Note that this process can also be undertaken by editing the dataset record and removing the reference to the service.
If you need to, now delete the decoupled dataset. Locate the dataset Detailed instructions on editing and validating records can be found in Create a UK Gemini 2.3 compliant Metadata Record in GeoNetwork. This page also includes information on creating service records, adding resource indicators such as View (WMS) and Download (WFS) links.
Deleting metadata records.
| Info | ||
|---|---|---|
| ||
This process cannot easily be undone! |
Locate the dataset that you wish to delete, using the search facility, and click the title to view the metadata. Then click the red cross button to delete the record. You will be asked for confirmation before deleting, so if you have made a mistake, click Cancel.
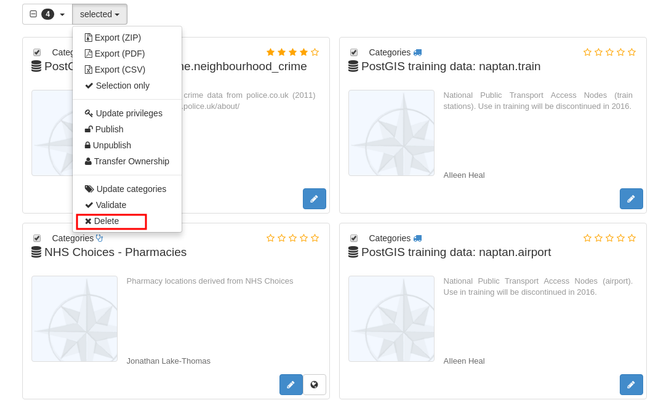
It is also possible to delete multiple records from the search results by selecting them and choosing Delete from the dropdown action menu. Again, you will be asked for confirmation that you wish to do this.
To add a new dataset record, click the Contribute button on the top toolbar, and from the right-hand menu choose Add new record or Import new records depending on whether you wish to start a new record from scratch or import one or more existing records from your computer.

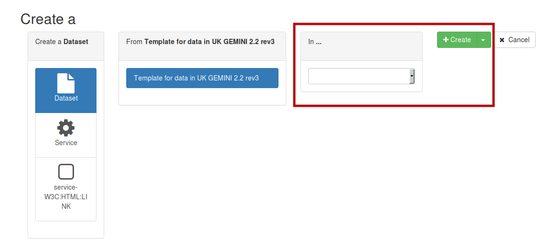
To create a new record from scratch, click Add new record. Choose whether this should be a dataset, series or service, and then whether it should be for Raster or Vector data. The defaults will be dataset and Template for Vector data in UK Gemini 2.2 rev2. Depending on whether you are using the INSPIRE portal or your own catalog, you may also have an option to choose the group that the record is created in. Select the correct group from the dropdown list entitled "In...", and click the green Create button.
If creating new metadata by importing an existing metadata file choose
Importing existing metadata
It is possible to add new metadata to the catalog by importing it from an existing xml file. Choose Import new records from the main Contribute page. Of the available options, choose either Upload a file from your computer if you have the metadata as a file, or Copy/Paste to copy the xml from another system. Assuming you selected Upload a file click the green Choose or drop resource here button and navigate to the location of the file on your computer. Choose the following options:
- Type of record: metadata
- Record identifier processing: Generate UUID for inserted metadata OR Overwrite metadata with same UUID if this is to replace an existing record
- Apply XSLT Conversion: Choose _to_gemini If the record is in Gemini 2.2 format, choose GEMINI 2.2 TO GEMINI 2.3 from the dropdown list, or otherwise ask your Astun Consultant if you have different requirementsconsultant for other options.
- Validate: leave blank
- Assign to current catalog: select
- Assign to group: Choose your correct group to assign your record to, if using your own catalog. Ignore if using the INSPIRE portal.
- Assign to category: Choose Datasets
...
- INSPIRE or ENTERPRISE depending on your requirements. Note this can be changed later
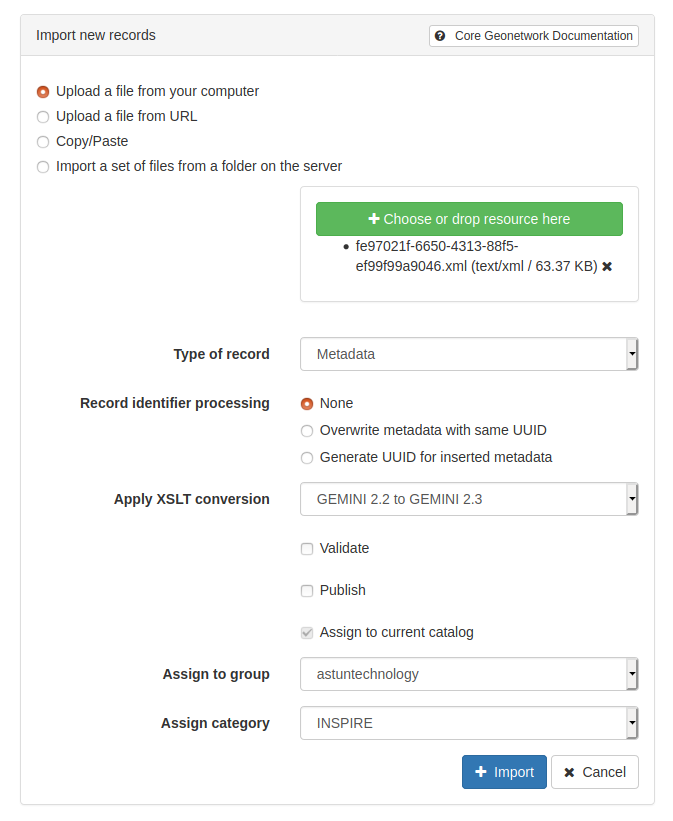
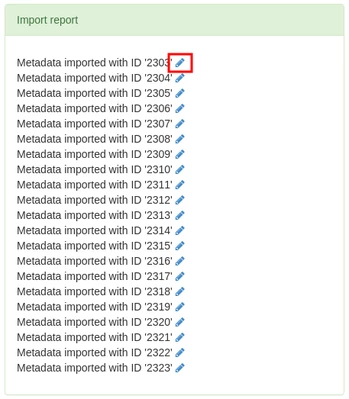
Click the blue Import button. GeoNetwork will confirm that the record or records have been successfully added or will show an error. Generally errors occur if the imported metadata contains broken xml, or if the record has the same UUID as an existing record but you have not chosen to overwrite or generate a new UUID. You can click the pencil icon next to a record to go straight to it's editing page or return to the Search page from the top menu to view the new records.
 To link this record to a service, edit the record and in the Associated resources wizard click the plus button to add a resource. From the list, choose Link to service.
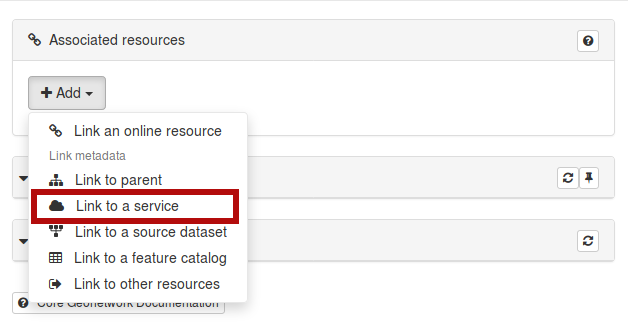
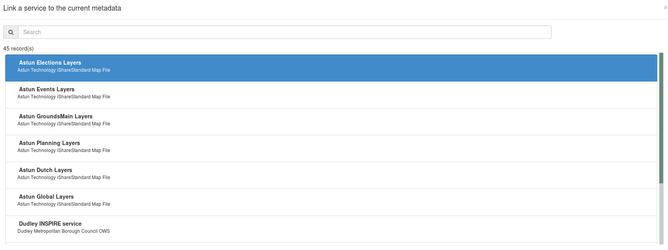
In the next window, choose the service you wish to link to from the list, and click the green Link to a service button.
Set Access Rights to new Metadata record
...
| Info | ||
|---|---|---|
| ||
See Metadata Publication: Enterprise or INSPIRE+Enterprise for a more detailed explanation of publishing on Enterprise metadata portals |
...