Clearing the iShare Cache and Reloading the Config
If you have made any changes to your iShare configuration and want to see the immediate effects you will need to clear the iShare cache and reload the config. The following steps show you how to do this.
Step 1 - Make your configuration changes in iShare Studio
- Open iShare Studio and make your changes. When you are happy click the Save All button.
By clicking Save All it makes sure that every change you have made has been correctly saved back to the configuration files.
Step - 2 Stop and Start the Application Pools
- Open Internet Information Services Manage (IIS) on the Server that hosts your iShare web site.
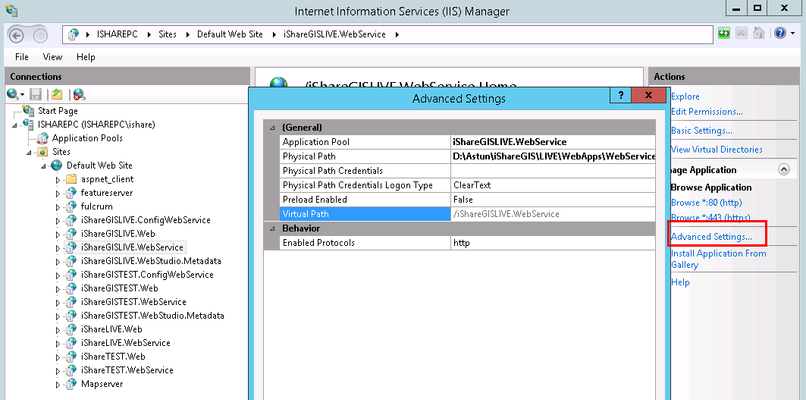
- In order to check which Application Pools are used by the iShare Web and Web Service expand the Site > Default Web Site node in the Connections panel.
Select the Web application you are interested in e.g. iShareGISLIVE.WebService, and then click the Advanced Settings... in the Actions panel.
This will then show you the name of the Application Pool that is being used. Note down the Application Pools used by both the iShare.Web and iShare.WebService web applications (or the iShare GIS equivalent if this is the configuration you have changed).For Cloud customers the Application pool for the iShareLIVE.web would generally be wsiShareLIVE with a corresponding wsiShareGISLIVE for the iShaerGISLIVE.web.
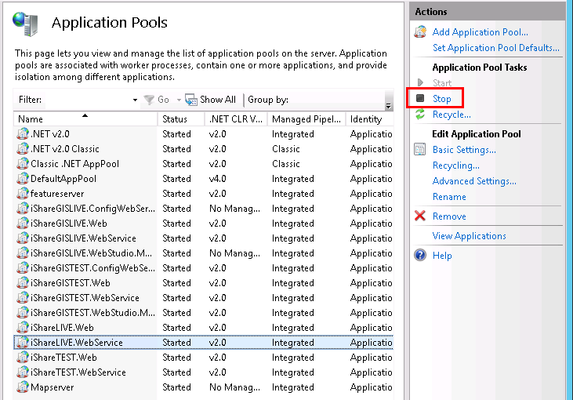
- Now click on the Application Pools node on the Connections panel.
- First you need to Stop the iShare.Web Service Application Pool. Select the Name from the list and then click Stop in the Actions panel.
- Now repeat for the iShare.Web Application Pool.
Once both of the Application Pools have stopped you need to start them again in the same order you stopped them, i.e. Web Service first, by selecting the Name and then clicking Start in the Actions panel.
This does not cause any downtime for people using iShare as the default Application Pool will be used if the configured one is not available
Step 3 - Clear the iShare cache
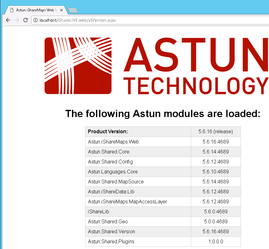
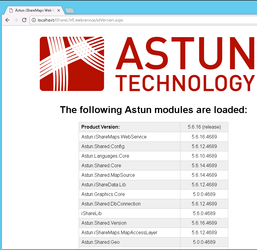
These steps should be performed on the actual server hosting your iShare web site. Browsing to the atVersion.aspx for each site should clear the iShare cache. The same steps can be used for iShare GIS by changing the URL.
- From your browser browse to atVersion.aspx for your iShare.web e.g. localhost/iShareLIVE.web/atVersion.aspx
- Repeat for your iShare.webservice e.g. localhost/iShareLIVE.webservice/atVersion.aspx


