Installing iShare Studio ETL
5.6.2+
Overview
iShare Studio ETL is a new slimmed-down version of iShare Studio with just the Data Share and Workflow modules, primarily intended to sit on the Internal Server, to Extract, Transform & Load (ETL) data to and from the iShare Cloud.
Pre-Requisites
iShare Studio ETL requires the following to be installed:
- Windows Server 2016
- Microsoft .NET Framework V3.5 Service Pack 1 (installed and enabled)
- IIS 7 or higher
Installation guide
The Astun Consultant will provide the installation file to the client StudioETLSetup-n.n.exe. The file should be placed on the server where Studio ETL is to be installed.
Run the StudioETLSetup-n.n.exe application where n.n is the version number.
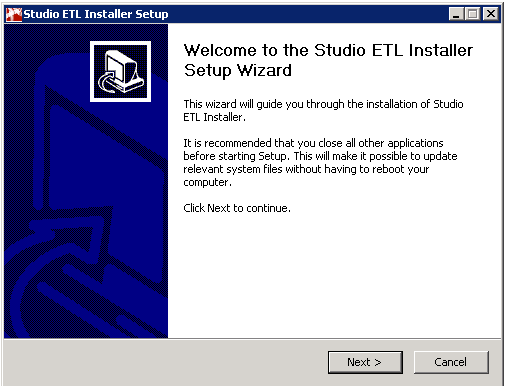
- Click Next to continue.
- Click I Agree for the installation setup to continue.
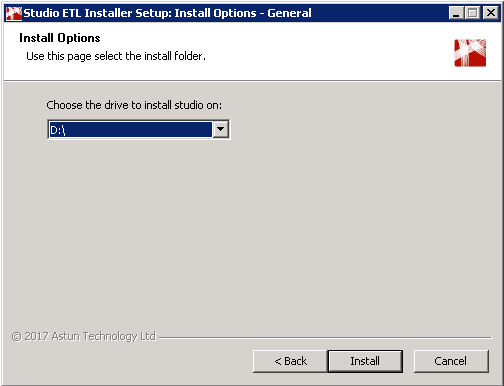
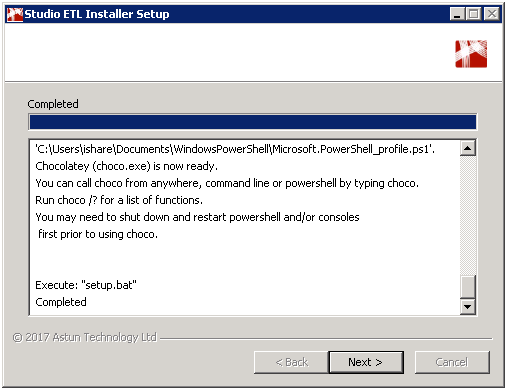
- Select the path where you wish to install Studio ETL and click Install. A number of command prompt and powershell windows will open throughout the installation process. When the following screen shows, the installation has completed successfully.
- Click Next.
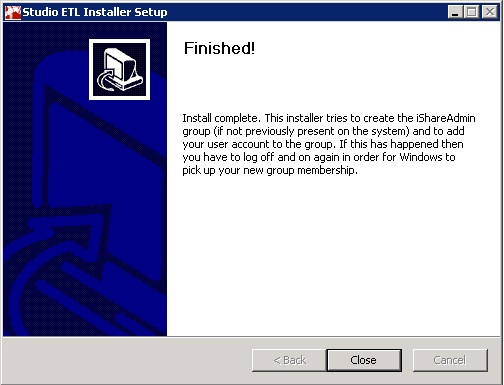
- Click Close to exit the Studio ETL installer.
There will now be a shortcut for Studio ETL on your desktop. Double-click on that to begin the configuration process.
If you had any issues installing Studio ETL you will find the installation logs in the %programdata%\chocolatey folder.
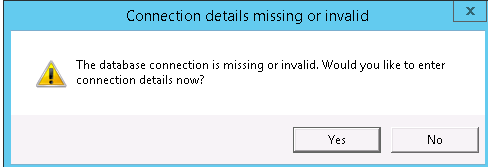
You will be asked to configure the database connection to the iShare in the Cloud Data Share database.
- Click Yes to configure.
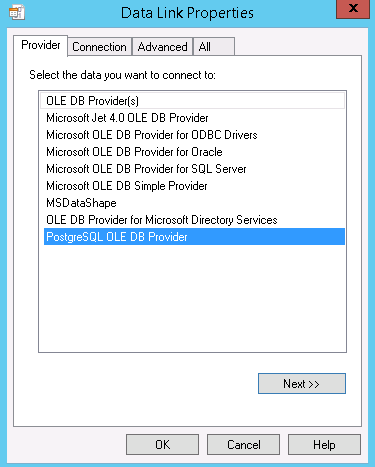
- Click on the Provider tab and pick the PostgreSQL OLE DB Provider from the list of entries.
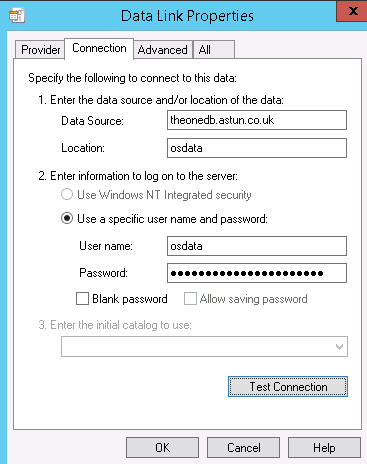
- Click on the Connection tab and enter the Data Source and Location information that you have been provided.
- Click on the Use a specific user name and password radio button and enter the User Name and Password provided.
- Click Test Connection.
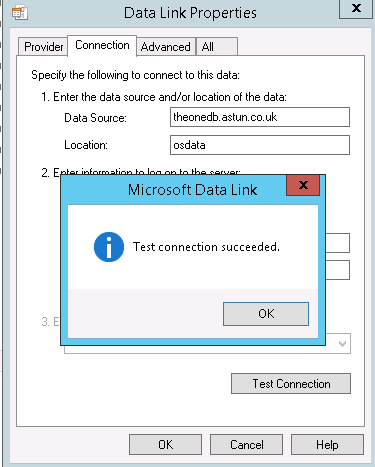
- Click OK on the Test connection succeeded dialog and click OK again on the Data Link Properties dialog to finish configuring the database details.
iShare Studio ETL has now been installed.
You will need to log out and then in again after the install to take account of membership of the "iShareAdmin" group, created by the installer.
