Installing iShare
Run the iShareSetup-n.n.exe application where n.n is the version number.
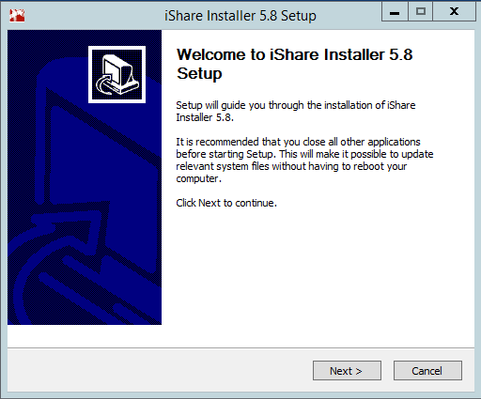
- Click Next to continue.
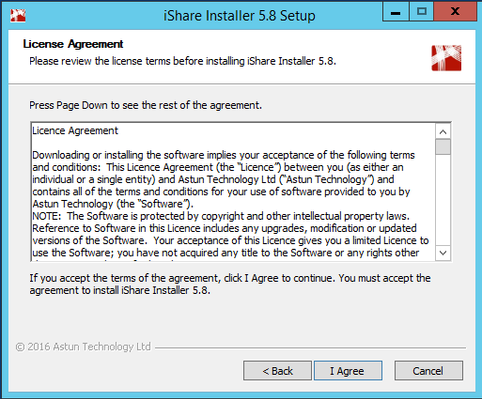
- Click I Agree for the installation setup to continue.
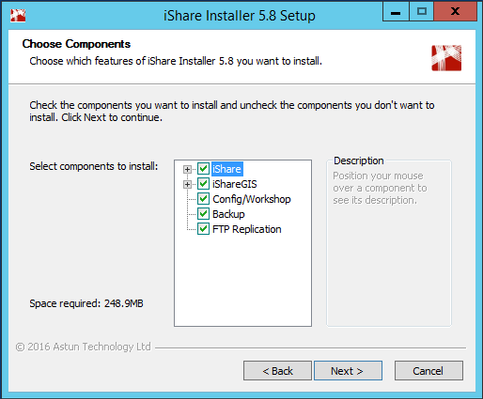
Select the components that you wish to install and click Next for the installation setup to continue:
- iShare – the main iShare installation.
- Studio – an intuitive administration application that allows for the configuration of information sources, data building workflows and display options for maps etc.
- PG Installer – the PG Admin application required for the Data Share database setup. Data Share is the data harvesting engine providing access to a multitude of data sources whether spatial data warehouses, standard databases, RSS Feeds etc.
- Web Components
- External – MyMaps and MyHouse external web components.
- My Maps provides a simple, intuitive way of navigating and interrogating data through a map interface with the ability to set a home location, compare neighbourhoods, view spatial layers (thermal imaging, planning applications etc.) and perform Find My Nearest type queries.
- My House enables members of the public simply enter their address providing a fast and simple way to find out information relating to their neighbourhood. Content is sourced from the website Content Management system, RSS feeds, back office databases and GIS layers.
- Internal – iShare internal web services
- External – MyMaps and MyHouse external web components.
- Modules
- MyAlerts - enables a citizen to subscribe to email alerts. Alerts can include local planning applications, road works, events, council services and in fact any data that you have accessed for My House.
- MyNews - enables citizens to sign up for Council newsletters. Enables simple re-use of existing content and control of design - Bath & North East Somerset have over 8,000 subscribers.
- Publisher - enables a Council to publish any of its back office data in a meaningful way via its website - it could be anything from building and development control to restaurant hygiene ratings and enables citizens to report back so it could be used for future public consultations.
- Logger - enables citizens to report and locate (on a map) broken street lamps, abandoned cars, fly tipping, graffiti etc and communicate this at the top level. It also enables iShare data and mapping functionality to be made available to CRM systems for easier fault reporting.
- iShareGIS - provides simplified but powerful Intranet GIS functionality, which can be made available Council wide. Enables all council staff to use the power of geographic information by providing powerful search, measuring and printing, with unlimited layers and map sources.
- Studio – usually a separate Studio is installed for iShare GIS in order to keep the configuration separate from iShare.
- PG Installer – the PG Admin application required for the Data Share database setup. Data Share is the data harvesting engine providing access to a multitude of data sources whether spatial data warehouses, standard databases, RSS Feeds etc.
- Web Components
- External – iShare GIS external web components.
- Internal – iShare GIS internal web services
- Config/Workshop – installs the iShare GIS Config & Workshop data
- Backup - installs the backup script and configuration files required to backup your PostgreSQL databases into the Tools/DatabaseBackup folder.
- FTP Replication - installs the files required for FTP Replication.
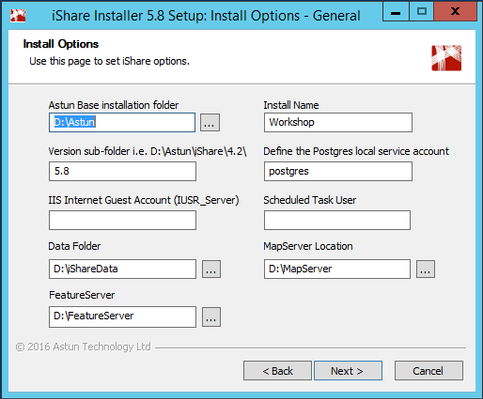
Enter the following information:
Astun Base installation folder – folder for the iShare installation
Install Name - this will be used to identify the installation. Usually this will be the name of the client e.g. Cardiff. A folder will be created with the name specified in the Data Folder field, combined with the installation name. For example, if the Data Folder contains D:\iShareData and the Install Name is Cardiff, workshop data will be held under D:\iShareData\Cardiff.
A folder will be created under the ..WebService/config folder with the same name as the Install Name, for example ..WebService/config/Cardiff. This folder will contain the usual xml files for map and data settings, e.g. AllMaps.xml, _mysources.xml etc.
Version sub-folder - folder under which the selected iShare components will be installed. This, by default, shows the current version of iShare but it could be used to identify Live and Test versions for instance. See the section iShare Folder Structure for details.
Define the Postgres local service account – this should be the account that was created when Postgres was installed. See the section Installing Postgres.
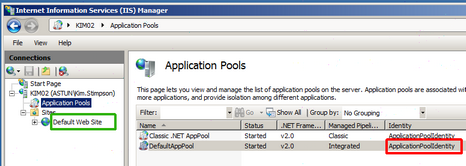
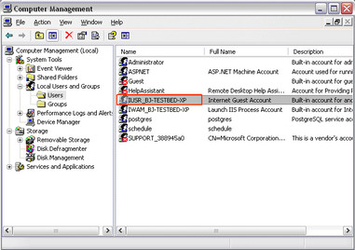
IIS Internet Guest Account – This is different depending upon whether you are using Windows Server 2008 with IIS 7 or Windows Server 2003 with IIS6. Please see table below for details
IIS7 & IIS8 | IIS6 |
Usually DefaultAppPool Identity e.g. ApplicationPoolIdentity - see entry outlined in red in the above screenshot. | Usually IUSR_MachineName where MachineName is the name of your Server - see entry outlined in red in the above screenshot. |
Scheduled Task User – This user needs to have sufficient permissions to run Windows Scheduled tasks and access to any required resources used in the iShare Studio Workflow.
Data folder – folder where the custom data is held.
MapServer Location – the folder where MapServer is installed. See section Installing 3rd Party applications.
Feature Server – the folder where MapServer is installed. See section Installing 3rd Party applications.
- Click Next for the installation setup to continue.
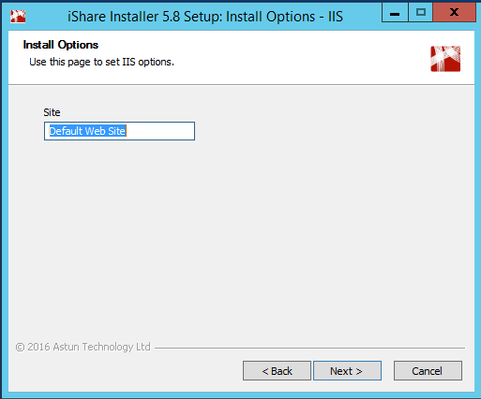
You will only see this dialog if you are installing on Windows Server 2008 with IIS7 (or above).
- This entry should match the Default Web Site outlined in green in the above screenshot for IIS7. If you have renamed this entry then enter the new name here.
- Click Next.
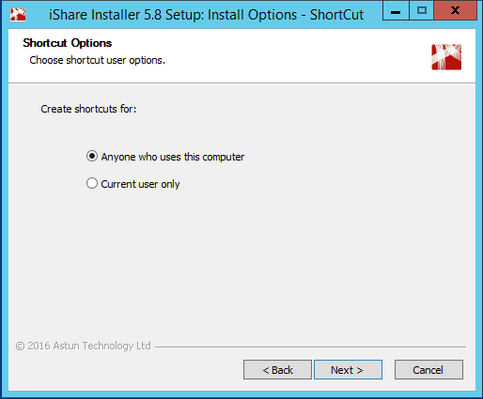
- Select if you wish to create shortcuts to iShare Studio just for you or for everyone.
- Click Next.
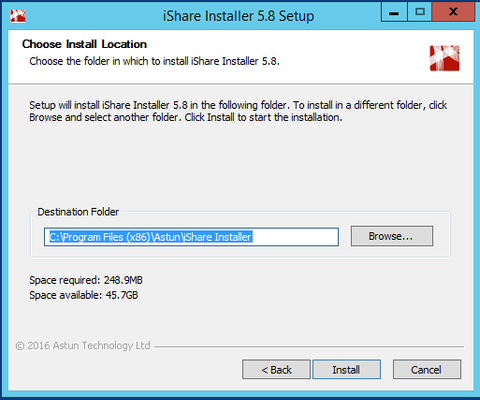
- Select the Destination folder for the installer and product documentation and click Install. The installation will now commence.
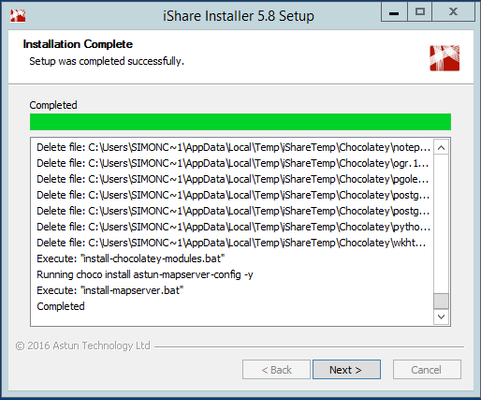
- Click Next.
From versions 5.2.14 or 5.4.6 the installer tries to apply the correct folder permissions in order for iShare to run successfully and these are applied using a batch file. If the command prompt or batch file execution has been disabled by administrators, the installer may not be able to apply permission settings and you will see a screen like this:
Press any key to continue with the iShare installation but the correct permissions will not have been applied so you will need to run the PowerShell Permission scripts manually after the iShare install has completed.
- Click Finish to exit the iShare installer.
If you are installing iShare on a Windows Server 2008 with IIS7 (or above) installed then the iShare installer will configure everything required for iShare and MapServer - from v4.4.8 onwards.
