/
Installing PostgreSQL
Installing PostgreSQL
- Kim Stimpson
Owned by Kim Stimpson
Last updated: 19 Jan, 2017
If you have selected to install PostgreSQL then you will be presented with the following dialog:
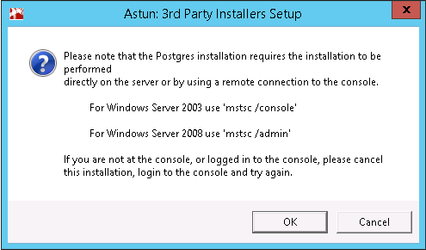
If you need to cancel this installation then all you will need to do once the Astun 3rd Party Installer has finished is to run the installer again on the server and just tick the box for Postgres and leave all the others unchecked.
- Click OK to continue or Cancel to cancel and install at a later stage.
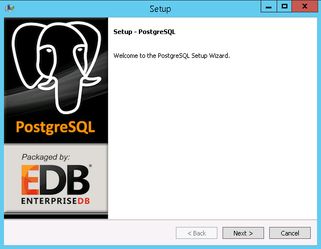
- Click Next to continue with the setup wizard.
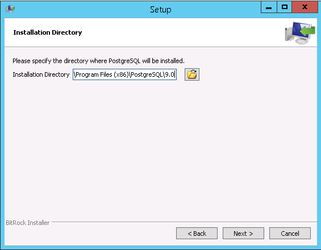
- Click Next to accept the default path or Browse to change.
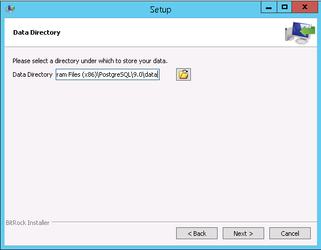
- It is usually preferable to have the data stored on a volume other than the system drive, so you should change the default Data Directory e.g. D:\PGData. Enter the path and click Next.
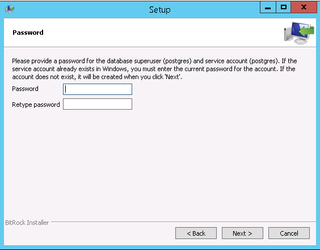
- Enter a Password for the database superuser and service account. You must make a note of this postgres user password as this is required when you create your Data Share Database or whenever you open PgAdmin. Click Next.
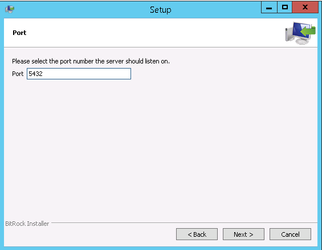
- Leave the default Port and click Next.

- Leave the default Locale and click Next.
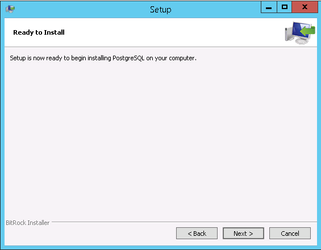
- Click Next to begin the installation.
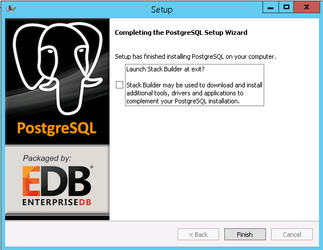
When PostgreSQL has finished installing you will be asked if you with to Launch Stack Builder.
- Uncheck this entry, as the Astun 3rd Party installer will now install the relevant additional tools, and click Finish.
, multiple selections available,