Connect ArcGIS 10.2 to iShare SDW
- Jo Cook (Deactivated)
- Kim Stimpson
- Mike Saunt
- Andrew Bailey
| System Category | GIS |
|---|---|
| Source | Astun Spatial Data Warehouse |
| Available since | 2014 |
| Organisation |
Step-by-step guide
Provide instructions on how ArcGIS 10.2.1 for Desktop can connect to the iShare SDW (Spatial Data Warehouse based on PostGIS):
- Install and authorise ArcGIS 10.2.1 for Desktop
- Install PostgreSQL 32-Bit ODBC drivers
- Connect to the database
- Two methods of adding data (direct connection and query layer)
- Edit data
Install ArcGIS 10.2.1 for Desktop
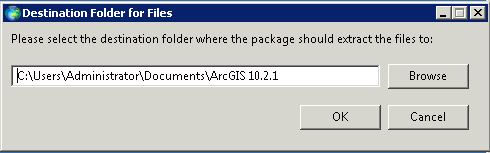
Install ArcGIS 10.2.1 for Desktop on the local machine.
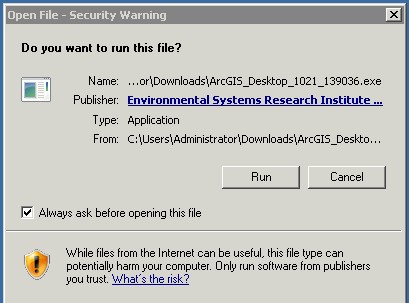
The install will ask for a temporary location for unpacking files, and will only begin the installation once they are fully extracted.
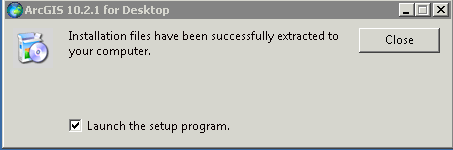
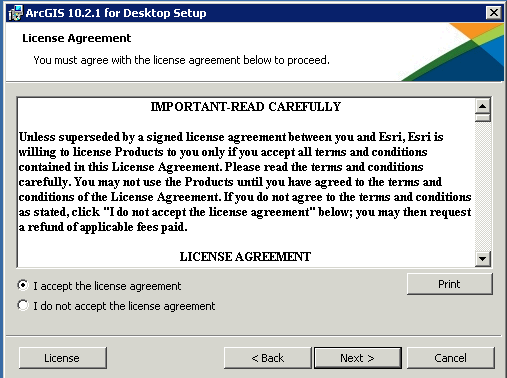
Click "Close" to launch the desktop setup program, and agree to the ESRI EULA.
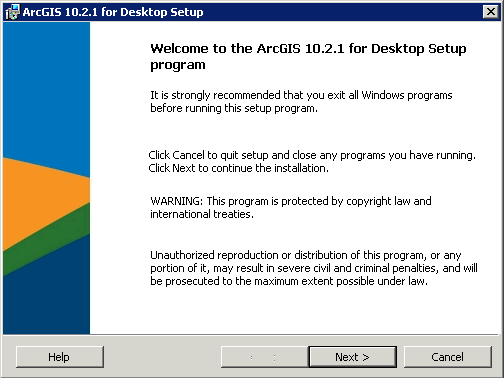
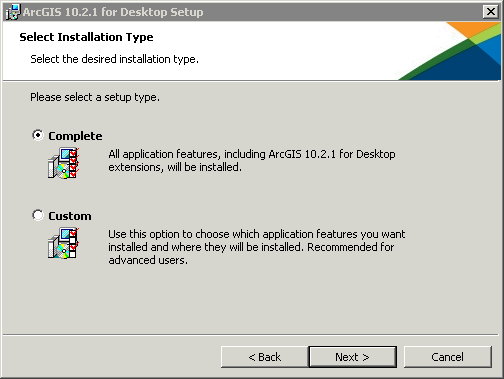
Chose the Complete install (recommended), or Custom (for advanced users).
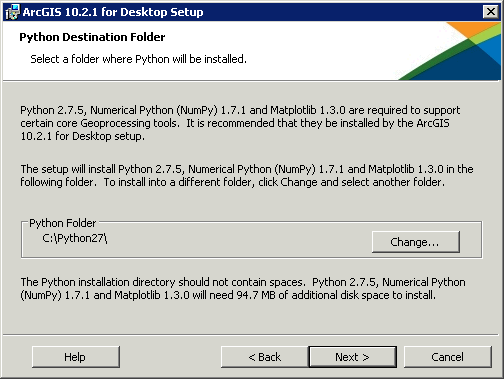
The setup program may require some additional dependencies, such as Python 2.7. It is recommended to use the default directory for the python installation, to avoid issues with spaces in file names.
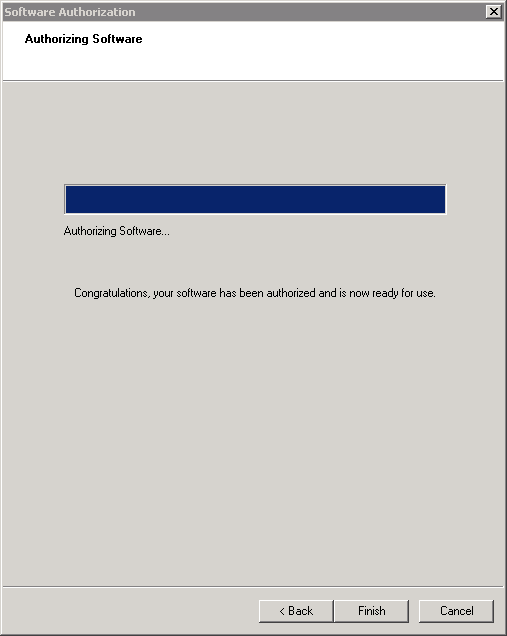
When the installation has been successfully completed, the following dialog will show. Click "Finish" to start the authorisation manager, or close and authorise your software later.

Authorising ArcGIS 10.2.1 for Desktop
Once ArcGIS has been installed, it is necessary to authorise the software before it can be used. The exact method for this will vary.
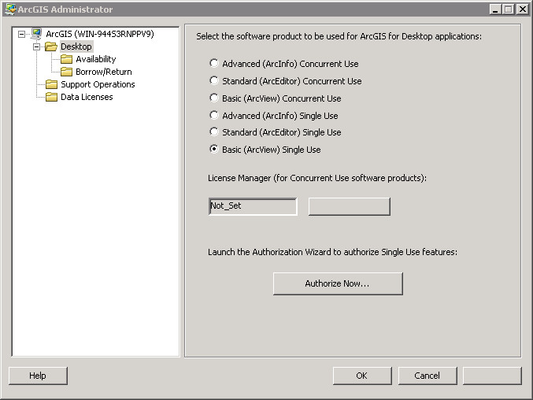
Once the software has been correctly authorised, a notice similar to the following will be displayed, and you will be able to open ArcGIS for Desktop.
Download and Install PostgreSQL 32-Bit ODBC drivers
Download the Windows 32-Bit drivers from www.postgresql.org
Download link: The version for iShare v5.2 / ArcGIS 10.2.1 for Desktop is psqlodbc_09_00_0310.zip
You will need to install the correct version of the drivers for your installation of ArcGIS, regardless of the architecture of your pc. If in doubt, assume the 32bit version.
Install the downloaded files, and navigate to the installation directory (C:\Program Files (x86)\psqlODBC\0903\bin).
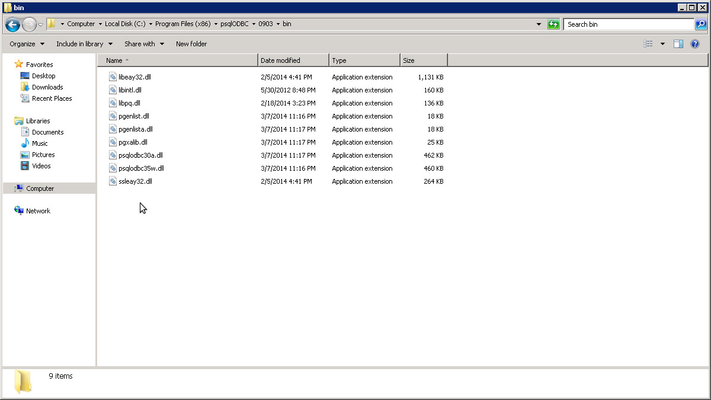
Copy the dlls and paste them into the bin directory for ArcGIS (e.g. C:\Program Files (x86)\ArcGIS\Desktop10.2\bin).
The exact directory name may not be identical.
Make a connection to the database in ArcCatalog/ArcMap
Prerequisites
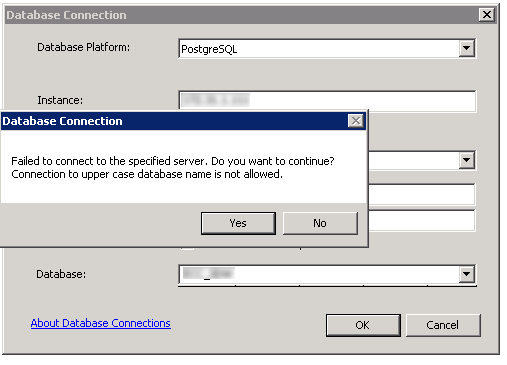
At the current time, ArcGIS for Desktop can only connect to PostgreSQL databases that are entirely lower-case with no special characters in the name. See http://support.esri.com/en/knowledgebase/techarticles/detail/40571 for more details about this.
You will receive the following error message if you attempt to connect to a database with upper case or special characters in the name:
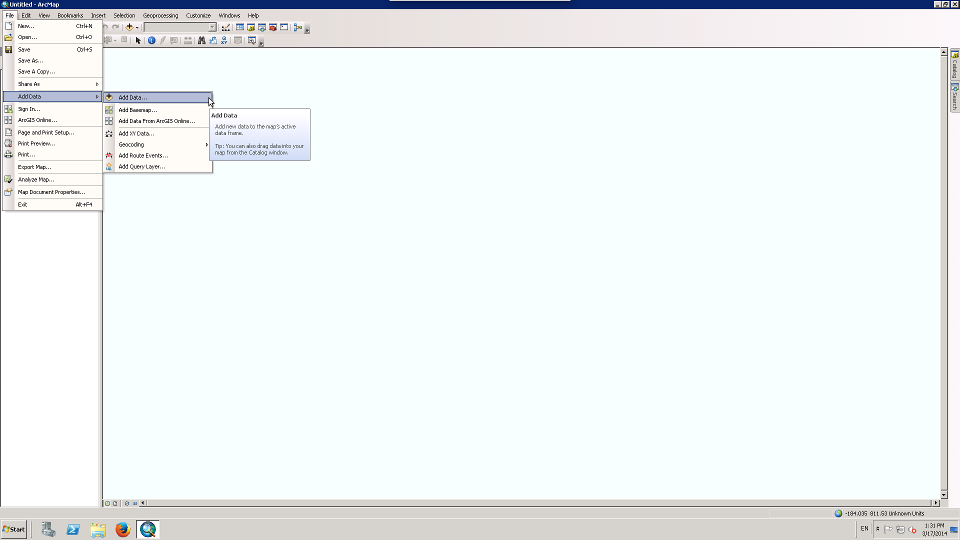
In ArcCatalog, choose "Database Connections/Add Database Connection" from the Catalog Tree. In ArcMap, right-click "Layers" in the Table of Contents and choose Add Data.
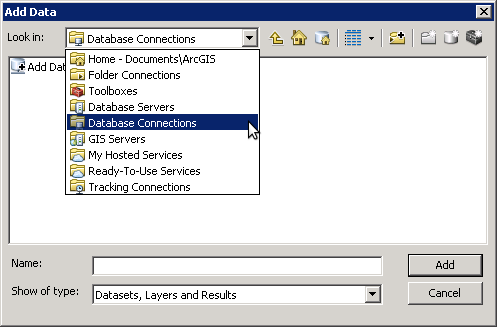
From the dropdown "Look in" box, choose "Database Connections"
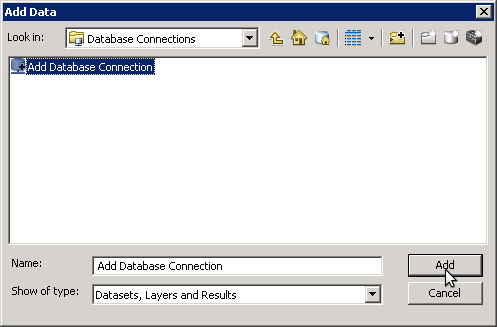
Then click "Add Database Connection"
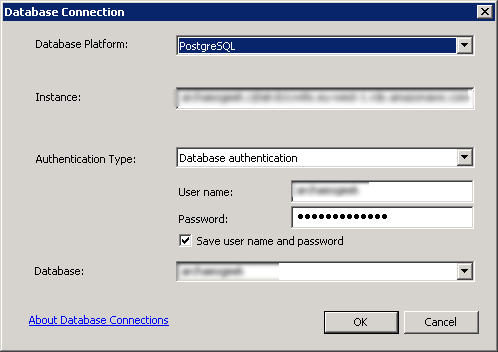
In the "Database Connection Dialog" choose "PostgreSQL" from the "Database Platform" dropdown list.
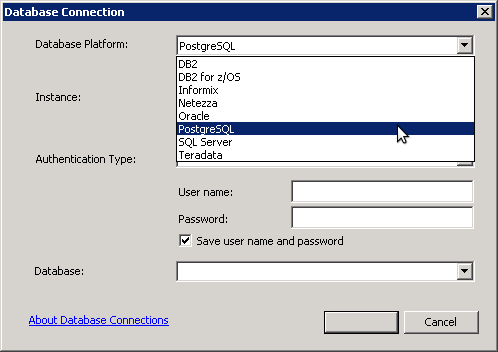
Fill in the connection details as follows:
Instance: the IP address of the server you wish to connect to
Authentication Type: Database authentication
Username: The username you have been given to connect
Password: The password you have been given to connect
(Tick the save username and password box, or you will need to enter them again each time you add data or connect to the database)
Database: The name of the database you have been given to connect to
If the credentials are correct, the connection will be available in the Catalog Tree (ArcCatalog) or the right-hand Catalog tab (ArcMap). Right-click this connection to connect.
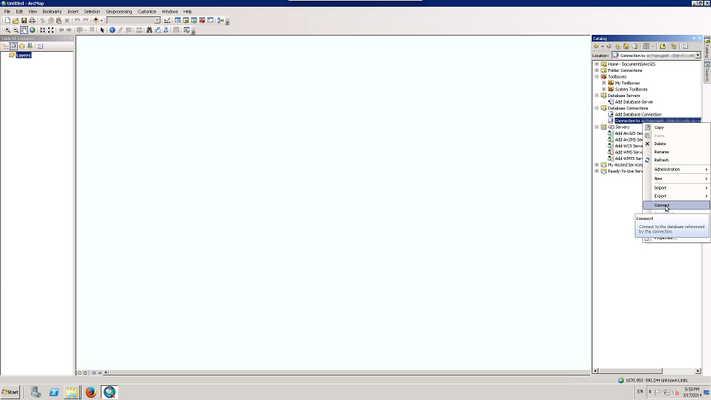
If the connection is successful, expand the connection to show the available schemas and tables.
Viewing data
Tables with spatial data in them appear twice in the catalog- once with a table icon and once with a feature class icon (a square, or a table with a square next to it).
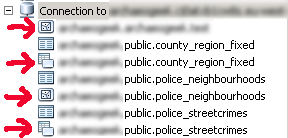
Drag a feature class into the ArcGIS table of contents to view the spatial data.
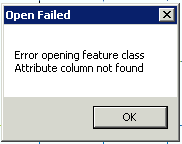
Errors with viewing data
The above procedure may fail with an 'Open Failed' error:
 or
or 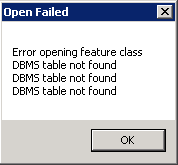
This can generally be attributed to null values in any one of the database columns. In that case, the data can be added as a "query layer" (see below).
Otherwise the procedure may fail because of geometry validity errors:
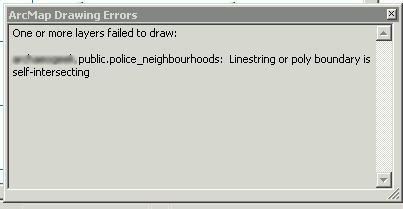
In this case the error must be addressed prior to being able to view the data in ArcGIS for Desktop.
Adding data via a Query Layer
- Note the name of the table you wish to view. This should be in the form of <database_name>.<schema_name>.<table_name>. The easiest way is to select the table from the catalog window in ArcMap and choose 'Rename'. Then copy the name and click away.
- From the ArcToolbox select Data Management Tools > Layers and Tables Views > Make Query Layer.
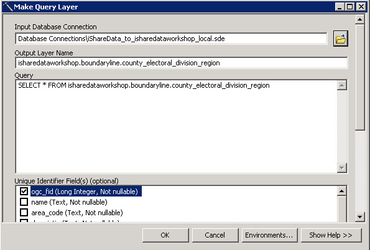
- For Input Database Connection select the connection to the SDW.
- Output Layer Name is an alias for the data. You can just copy what you've placed in the clipboard from step 1.
- In Query: type SELECT * FROM <copy again from clipboard>.
- Click in the Unique Identifier Field and it should auto-populate with the ogc_fid,
- Press OK to close the dialog and load the data.
Editing PostgreSQL data in ArcGIS for Desktop
ArcGIS for Server Enterprise Edition is required for editing PostgreSQL data within ArcGIS for Desktop. See http://www.esri.com/library/brochures/pdfs/arcgis-server-functionality-matrix.pdf (pages 4 and 5) for detailed information on this subject.