Associating Metadata with iShare Layers
- Kim Stimpson
- Peter Goulborn
- Jo Cook (Deactivated)
Before you can associate Metadata with iShare Layers you first need to configure Studio to access your CSW, then you will be able to select the Metadata for your iShare map Layers.
Metadata for all or some of the layers in an iShare installation exists in the metadata store and until the layers have been linked to the metadata, the metadata is not accessible in iShare. The following instructions show you how you may carry out a search of records in the metadata store to find those which correspond to the iShare layers, and link them. Once you have associated Metadata with your map Layers you will then be able to:
- Display Metadata for a Layer in both iShare Maps and iShare GIS
- Search for Metadata in iShare GIS
Working with all My Maps Layers
You will find a Metadata node at the bottom of the list of Map Sources under the My Maps node and this is where you can configure metadata for ALL Layers, in ALL Map Sources configured in My Maps e.g.
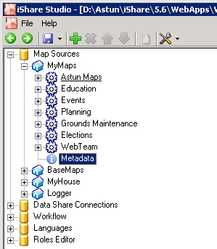
You will also find a Metadata node under each Layer where you can View / Configure metadata for the individual Layer.
- If you don't see the Metadata node then you haven't configured Studio to access your CSW.
- If you cannot see all of your Map Sources then this could be because they are restricted i.e. have Roles applied. If this is because WebStudio doesn't use the impersonation user from iShare, but it has a setting in webstudio/app/configuration/config.py called ISHARE_WEBSERVICE_USER which should be set in the format of "user@domain" to a user who has access to all Map Sources so that the application can read them.
Click on this to associate the Metadata for the Layers in your Map Sources.
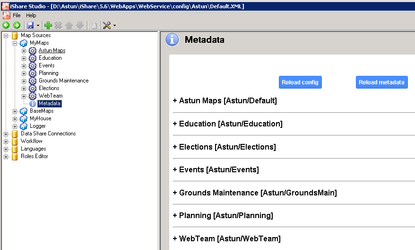
You will see a list of all the Map Sources configured for My Maps.
Click on the + beside the Map Source to expand the entry to show the Layer Groups and again on a Layer Group to show the Layers.
There are two ways of associating your Metadata with the My Maps Layers, Automatically and Manually.
Reloading the iShare configuration or Metadata
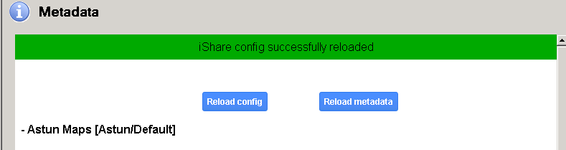
The Reload config button will reload the iShare configuration (MapSources, etc.) and the Reload metadata button to to reload the CSW configuration i.e. get any new metadata. Once the selected configuration has been reloaded you should see a green banner saying that it has successfully reloaded e.g.
If the reload should fail then you will see a message similar to the following:
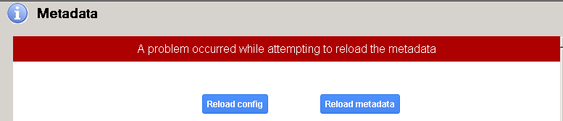
These messages will automatically disappear after a few seconds.
Automatically Associating Metadata to your Layers
Automatically associating Metadata to your layers requires a valid WMS or WFS URL pointing at the correct iShare mapsource as an online resource in your metadata record. See Create a UK Gemini 2.3 compliant Metadata Record in GeoNetwork#5.1.1.AddingaWMSorWFSLink for more information
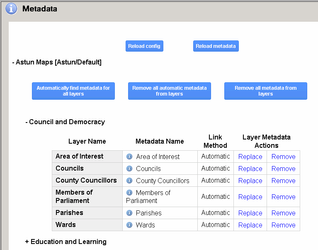
Directly under the Map Source entry in the Metadata Overview you will see the link Automatically find metadata for all layers. Clicking this will auto-assign metadata to any Layers that don't yet have metadata assigned to them.
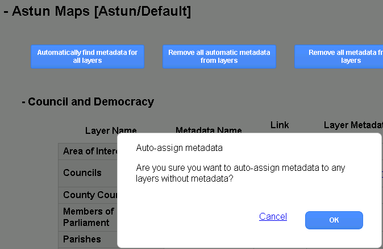
Click OK if you are happy to proceed.
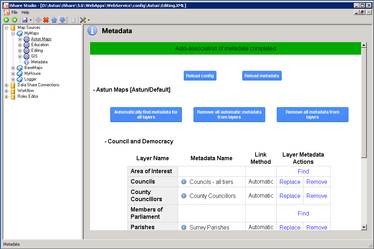
When the process has finished you should see a green completed message and the metadata information shown in the grid e.g.
For the technically minded - The metadata service looks for a node like this (as a child of <csw:Record>) :
<dc:URI protocol="OGC:WMS-1.1.1-http-get-map" name="crime_statistics" description="Crime Statistics">http://astun54.isharemaps.co.uk/iShare.Web/GetOWS.ashx?MapSource=Astun/Default&</dc:URI>
It matches on a node with name "dc:URI" and a "protocol" attribute with a value of "OGC:WMS-1.1.1-http-get-map". It will use the "name" attribute to get the Layer name and the text value of the "dc:URI" node itself will be parsed to get the MapSource value.
These nodes are created as part of the standard Astun metadata harvesting process.
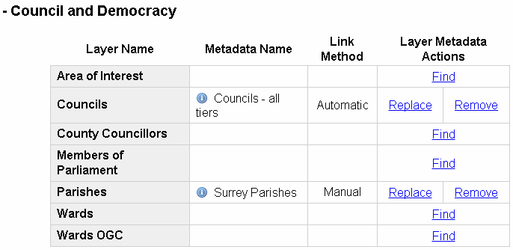
Manually Associating Metadata to your Layers
You can now click the Find link for a particular Layer so that you can search your CSW for the relevant entry. In the following screenshot we have clicked Find on the Parishes Layer e.g.
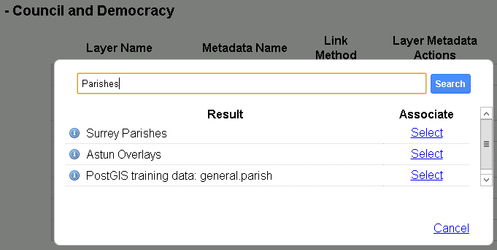
The Layer name is automatically entered into the Search criteria but you may change this if required and click Search (or press Enter) or click Cancel to return.
Now you can scroll through the list to find the correct entry and then click Select to associate the Metadata with the Layer. If you are unsure which metadata to pick you can hover over the to display extra information e.g.
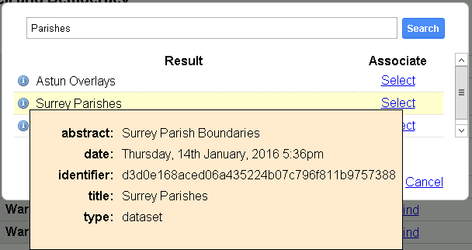
Once you have clicked Select you will see the Metadata Name added to the table. You could Replace or Remove this information but clicking the appropriate link. If you click Remove you will see a confirmation message warning that this will permanently remove the association.
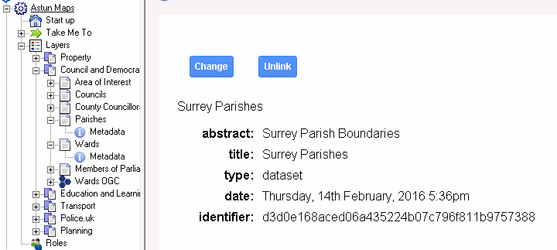
Working at individual Layer level
You may also display / find Metadata for an individual Layer. Click on the plus beside the Layer name in the tree and you will see a Metadata node e.g.
or if the Layer has not yet had Metadata assigned the following.
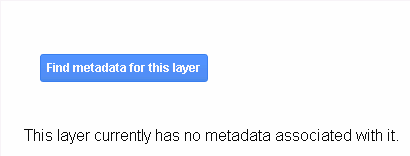
Now you may use the buttons in the same way as before to Find, Change and Unlink the Metadata.