Schedule a Workflow Job
- Kim Stimpson
- Simon Chapman
- Jo Cook (Deactivated)

If you wish a Job to run automatically you need to schedule when to update your Data Share database with the current information from your external Data Source.
When scheduling a time for your Workflow Job to run you need to consider the following, as they could cause the system to run slowly or the Job to fail or timeout:
- Are there any other Jobs scheduled to run at the same time?
- Have you left enough time for the previous Job to have completed?
- Have you checked that the Job is not scheduled to run at the same time as a maintenance task, such as a Server Backup / Reboot, either on the Local or Remote machine?
These Scheduled Jobs run in the Windows Task Scheduler.
From v6.0.0
Scheduled Tasks are no longer called "DataShare.JobName" but instead reside inside a new Astun\Workflow folder in Task Scheduler - see below for differences.
| Version | |
|---|---|
| 6.0.0 | 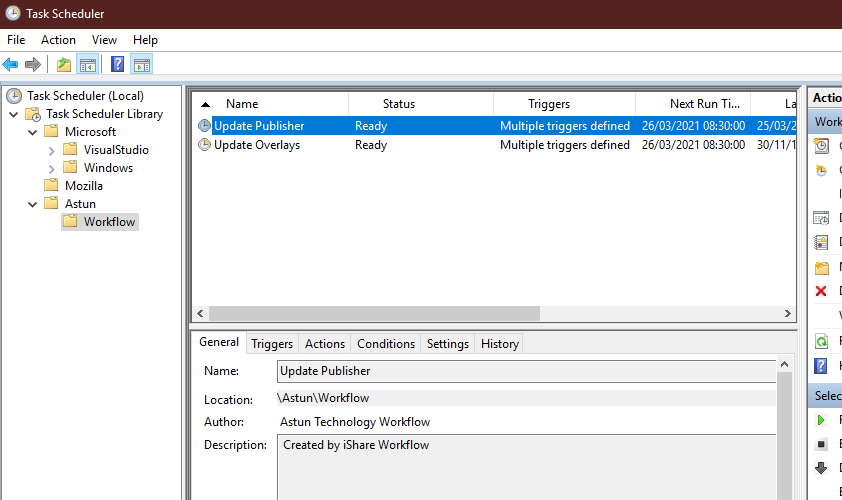 |
| 5.8.0 | 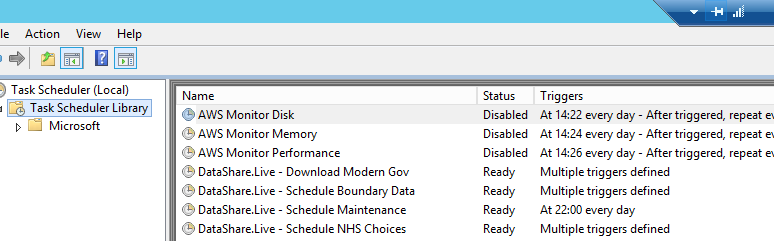 |
If you wish to create a Schedule Task then you will need write permission to the following folders:
- c:\windows\tasks
- c:\windows\system32\tasks
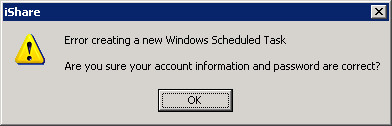
If you are having other permission problems when creating a Schedule Task this may be down to permissions on your server / PC. Try running iShare Studio as an Administrator. Right click on the iShare Studio icon on the desktop and select Run as administrator, if you are not an administrator then you will be asked to enter Administrator credentials.
First select the Job that you wish to schedule.

Create a Schedule Task
In the Scheduler area at the bottom of the Job click on the green plus  to enter a new Schedule and you will see the following dialog:
This is just a reminder so click OK and the following will be displayed.
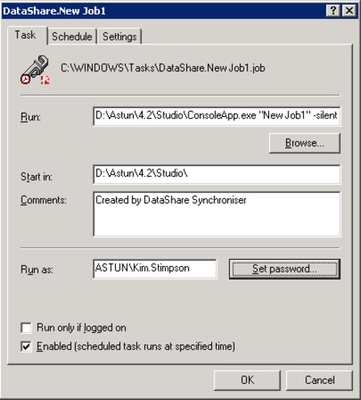
All the entries on this tab should be left; please ensure that the user the task runs as is the iShare Service user (usually ishare_service) (shown in the Workflow Settings in studio).
The following should be done for each and every task, regardless of whether the username is shown correctly. Failure to do so may result in the task being set up in windows task scheduler with incorrect settings.
Click on Set password.
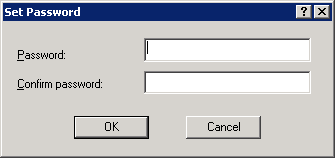
Enter a valid Password in both the Password and Confirm password entries and click OK.
If you wish to use the default schedule times then simply click OK to add the task to the scheduler. There are two default entries set:
- At 08.30 every day, starting at the date that you created this entry
- At 06.00 every Sunday, stating at the date that you created this entry
To create your own schedule click on the Schedule tab and enter the times and days that you require the synchronisation to take place.
Edit Job Scheduler entry
If you wish to make changes to the Job Scheduler details click the Edit icon  . This will display the task dialog where you will be able to make your changes. Change then entries that you require, set password and then click OK to update.
Remove Job Scheduler entry
To remove a Job Scheduler entry first select it and then click on the Remove icon  . You will see a confirmation dialog.
If you are removing the scheduler then the Data Share database will no longer be kept in synchronisation with this Data Source.
Run a Job Scheduler
If you want to run the Job Scheduler immediately click on the Synchronise icon  .
.
Enabling Multiple Schedules
Multiple schedules can be set up by clicking the New button on the Schedule tab.
On Windows 2008 the schedule will unfortunately not be automatically enabled due to changes in Windows Task Scheduling. In order to enable the schedule you must select the schedule from the drop down list on the Schedule tab then switch to the Task tab and click the Set password.... button to enter the password for the user that the task will be run as.