Classic Layer Configuration
- Kim Stimpson
Classic Layers have to first be added to the MapServer .MAP file via the MapServer Map Editor. Once you have added the details of the Layer to the .MAP file you can then configure this Layer in Studio.
To add a new Classic Layer right click on a Layer Group and select Add Classic Layer (or Add New Layer prior to V5.6.0). The following Layer dialog will be displayed:
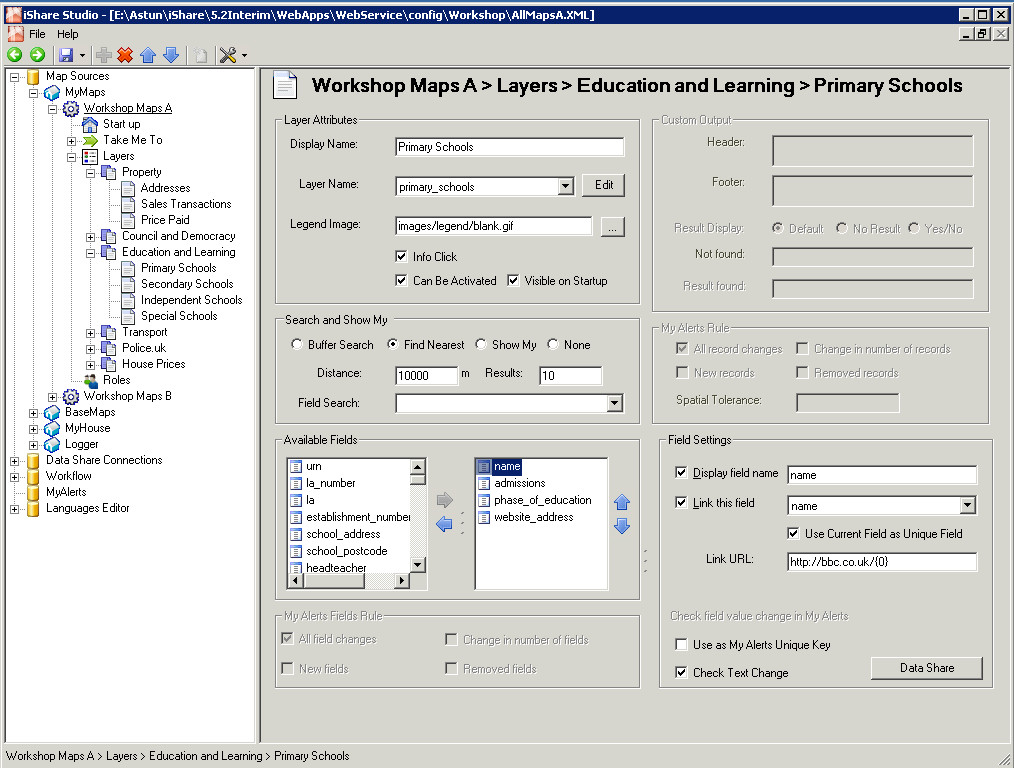
Layer Attributes
Display Name
This is description that is shown to the user and is a hyperlink Label name for the layer. This entry must not be specified as a number only e.g. “Planning 1992” not “1992”.
The Display Name must not start with a number and can only contain alphanumeric characters, underscore, hyphen or spaces. Maximum length 32 characters.
Layer Name
This is the actual Layer Name as defined in the .map file. Select a valid entry from the drop down list box.
From v5.4.0 you will see an Edit button to the right of the Layer Name. Clicking this will take you directly to the Map Editor positioned to the current layer.
You cannot specify the same Layer Name twice, if you do the subsequent entries will not be displayed.
Legend Image
This contains name of the name of the image file that is to be used in the legend control, in combination with the, previously defined, Display Name. If this is left blank then it will default to images/legend/blank.gif.
This image file must reside in the Web/Legend/Images folder. In order to pick the legend image in Studio, it must also be present in the Web Service image folder [Web Service/Legend/Images], or you will get an error from Studio.
For Classic Layers, if the table is empty then a missing image error will appear in place of the legend image.
If you wish to use dynamic legend images then leave this entry blank and add the following entry to the CLASS for the LAYER:
NAME ""
If you add text between the quotes then this will be displayed alongside the legend. Please see the topic Using Dynamic Legends for details.
Info click
Select this check box if you wish to be able to perform a information click on this layer through the map.
Can Be Activated
This defines which layers can become “Active Layers”. The active layers will form the core of the services that can be shown.
If you do not check this entry then this layer will not be able to be turned on or off.
Visible on Startup
Check this entry if you wish the selected layer to be visible to the user when they first display the page.
Search and Show My
If you do not wish to perform any Search or Show My functionality then select the None entry. For details on all the available options please refer to the Search and Show My topic. This is not available for a Faults layer.
Custom output
Please see My House / My Nearest Layer Custom Output for details. This is only available for a My House / My Nearest layer.
MyAlerts Rule
Please see My Alerts Layer Rules for details. Only available if My Alerts has been configured.
Available Fields & Field Settings
Please see the Fields and Field Settings topic for details.