/
DBF Files
DBF Files
By Kim Stimpson
19 Feb, 2015
dBase is a simplified database file format used to store structured data. You can specify an ODBC connection to these files. Each file is considered a separate table in a database; which is considered the folder in which the file resides.
Define the Datasource
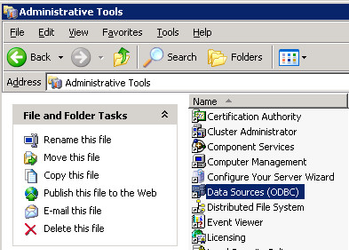
From the Administrative Tools area, open the Data Sources (ODBC). The Administrative Tools can usually be found in the Control Panel.
- Select the System DSN tab
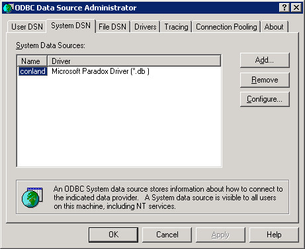
- Click on the Add… button.
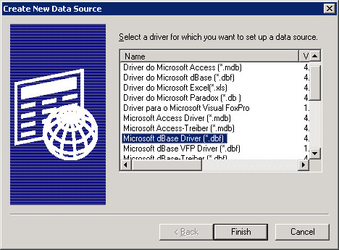
- Choose the Microsoft dBase Driver (*.dbf) driver and press Finish.
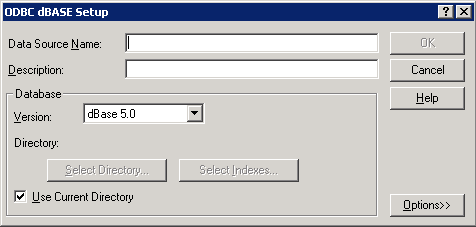
- Complete the ODBC dBase Setup by entering the Data Source Name, use something that will uniquely identify the source data, e.g. DBF Schools.
- Enter a brief Description for the Data Source if you wish.
- Uncheck the Use Current Directory and using the Select Directory… button, choose the directory where the dbf file is stored.
- Now click OK and the new entry should appear in the System DSN list.
Working with the Datasource in Data Share
Please refer to the topic Adding a new Data Source for the general details on how to add a new Data Source and use the following options.
- In this case we need to create a Standard Data Source.
- On the Provider tab, and choose the Microsoft Jet 4.0OLE DB Provider option from the list.
- On the Connection tab enter the directory where the DBF file is stored. You do not need to fill in any log on information.
- Now select the All tab.
- Select the Extended Properties entry from the list, and click the Edit Value button.
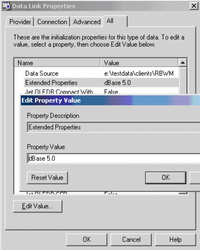
- In the dialog that appears, enter the Property Value dBase 5.0 and press OK.
- To ensure that the connection is setup correctly, you can go back to the Connection tab and click the Test Connection button. Once correctly setup, click OK.
- You are now taken back to the Create New Data Source dialog.
- Click the Construct SQL… button.
- This should bring up a list of the available fields in the DBF file. If there is more than one DBF file in the directory, you may have to use the drop down to select the one you require. Select the fields you wish to import, and click OK.
- Click OK on the Create New Data Source dialog, and you will now have a new entry in Data Share.
, multiple selections available,
Related content
CSV Files
CSV Files
More like this
Configuring other File formats in Data Share
Configuring other File formats in Data Share
More like this
XLS Files
XLS Files
More like this
Install Astun Scripts on Data Share database
Install Astun Scripts on Data Share database
More like this
Configure a Standard Datasource
Configure a Standard Datasource
More like this
Data Share Configuration
Data Share Configuration
More like this